What is a Domain Registrar?
A domain registrar is like the internet’s version of the DMV — it’s where you officially register your domain name and get the rights to use it for a set period (usually one year, but you can register it for longer). The registrar keeps track of who owns which domains and ensures your chosen web address remains yours as long as you renew it on time.
What is Hosting?
After you’ve secured your domain, your website needs a place to live — that’s what hosting is for.
Think of your hosting provider as your website’s garage or storage space. It’s where all your website files, images, and data are kept, and it’s what your domain connects to when someone visits your site.
The best part? Many hosting providers make things simple by letting you register your domain and set up hosting all in one place. Quick, seamless, and beginner-friendly!
Register a domain & sign up for hosting
Your first step is picking a trustworthy place to host your website. Hostinger is our top choice. But you can choose any one to your taste. The following description will use Hostinger as an example.
1. Visit Hostinger.
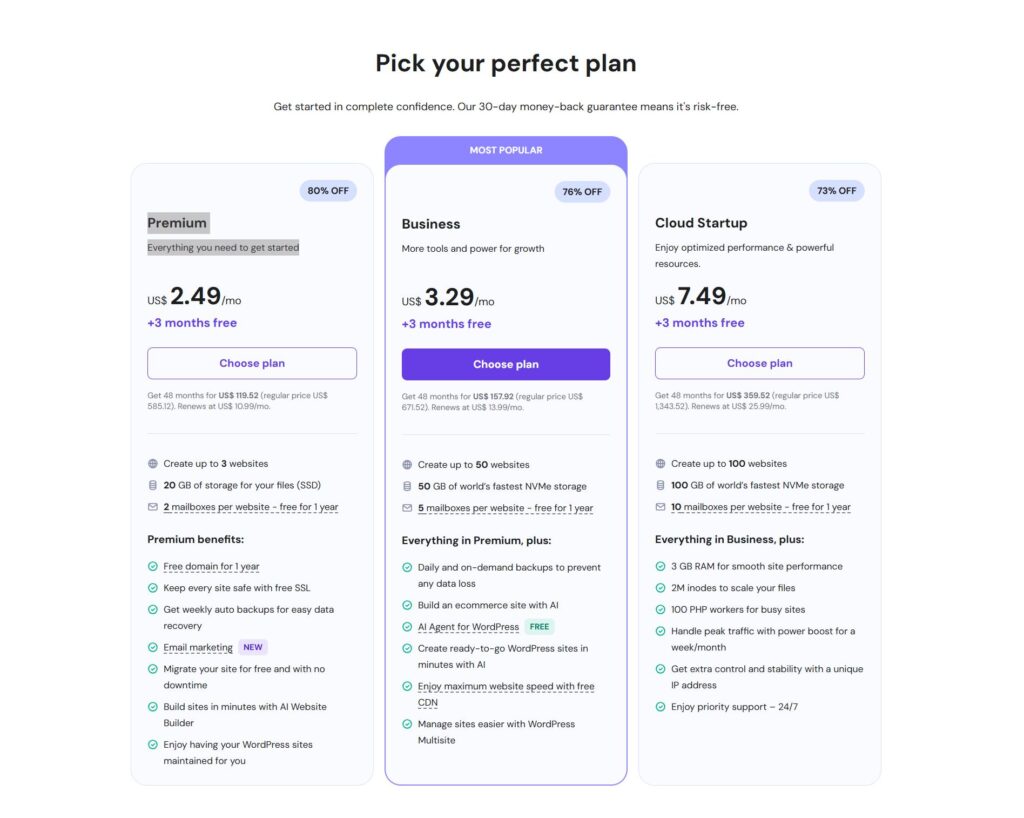
2. Hostinger offers a few different WordPress hosting plans, but if you’re just getting started, the StartUp plan has everything you need. It’s perfect for launching your first site, and you can always upgrade later if you need more features. Click Choose Plan.

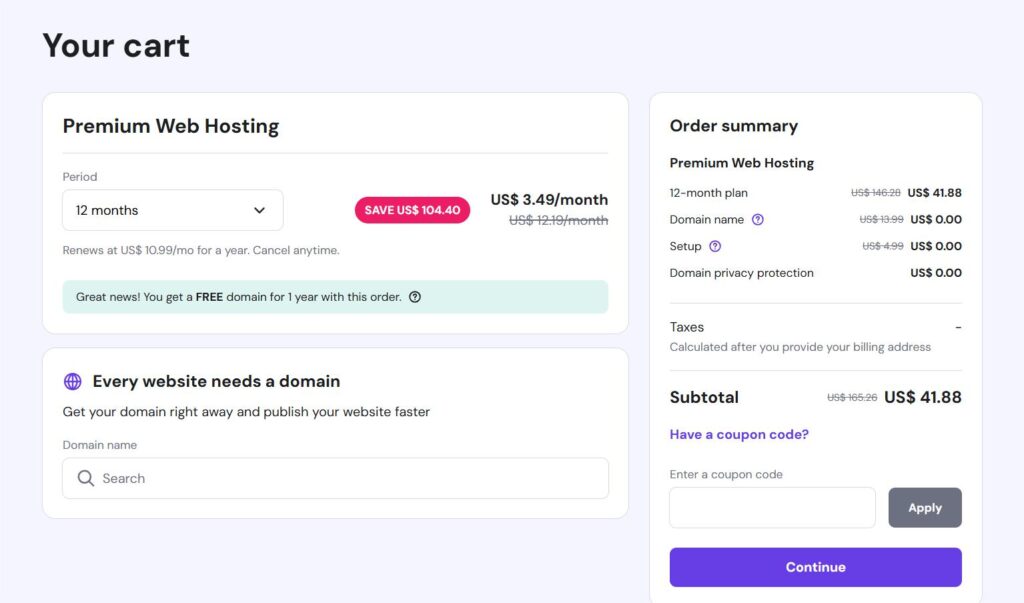
3. On the next page, type in the domain name you would like to use and choose a domain extension. We recommend a .com domain extension since it is the most common and recognizable, but .net will work in a pinch if your chosen domain isn’t available for .com!

On Hostinger, one year of your domain is free, but you need to pay for renewal each subsequent year. The price depends on the domain you choose. For example, .com costs about $35, .shop costs $70, and so on.
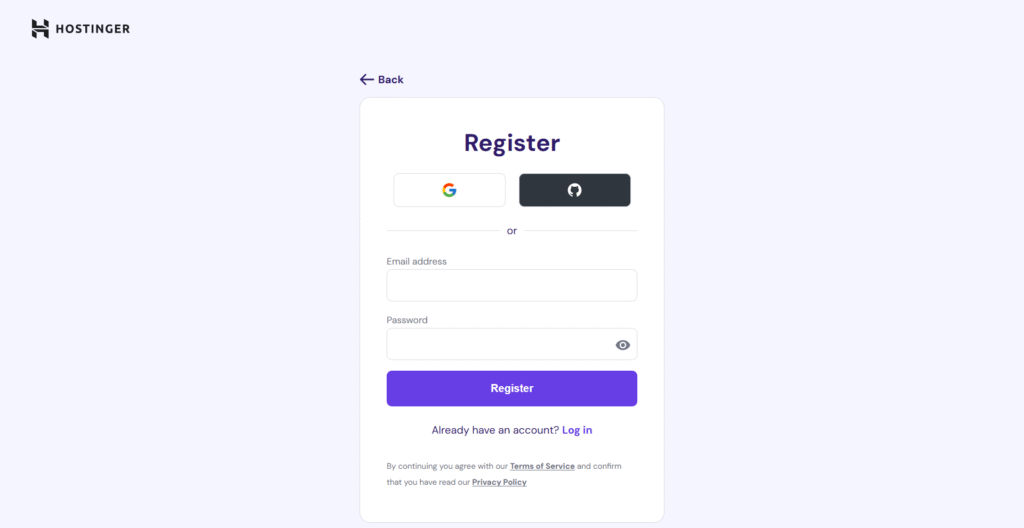
4.Create an account
Enter your email and create a password, or sign in with Google / Facebook / Apple.
This will be your Hostinger account.

5.Pay for your plan
Choose a convenient payment method—bank card, PayPal, Google Pay, cryptocurrency, etc.
After payment, you’ll gain access to your control panel.
6.Set up your hosting
After payment and logging in to your account, Hostinger will prompt you to:
7. Install WordPress
After setting up your hosting, Hostinger will offer to install WordPress — the most popular and beginner-friendly website platform.
What to do at this step:
- Click “Install WordPress.”
- Enter your desired site name, admin username, and password.
- Choose the option “Install a blank website” to start with a clean template.
This will let you fully customize your website’s design and content later.
Tip:
If you’d like, I can help you with the installation and basic setup of WordPress.
Simply provide your Hostinger login details (email and password), and I’ll take care of everything for you.
This post contains affiliate links. If you purchase through them, I may earn a small commission at no extra cost to you.

